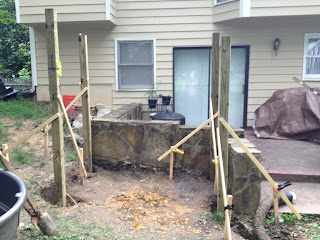
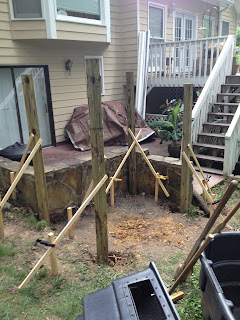
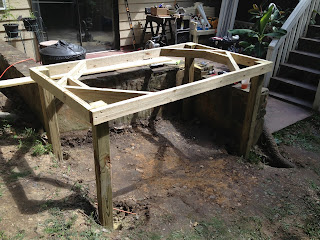
Several days of rain had also turned my Koi pond into a mud pond.
With the tank moved out of the way, here is what I started with.
First task was to level the ground a little bit.
Last year when I rebuilt flower beds in an area to the right of that in these pictured I planned ahead and stubbed in a drain line for the SC. The white disk in the above photos is the cap on that line. I needed to dig it up some and get it back out of the way.
Time to set some posts.
Filling the holes with quick setting concrete gave me time to grab some lunch. Upon return I thought I lay out some pipe and get a visual of how my drain lines might run.
The concrete is set so I removed the post supports and added some joists.
The Supervisor approves of the work so far.
Cut the post to proper height.
The top lip of the SC will rest on some decking but the weight of the tank will be supported by some additional structure underneath. In order to determine where that "additional structure" would need to be built I first had to complete the top. I purchased regular wood deck boards and used some of those to hold the tank in place.
With the tank centered I determined where to build the framing for holding the deck boards.
Then the deck boards go on.
The deck boards were rough-cut to length. To do the final cut I needed to mark the curve of the tank. I did that by placing the tank upside down and tracing the outside edge. From that I measured back in 1 inch and made the final cut.
Now the SC sits where I want it to sit. As I mentioned earlier I do not want the top of the structure to carry the weight of the tank and that that would be done by additional framing underneath. Now that the tank is in its place I can determine where that framing is to be built. With the tank in place I held a straight edge along the bottom of the tank and marked the 2 front posts. Then, by doing math, I did some calculations taking into account some 4x4 supports and marked a line where the 2x6 joist would be attached and bolted it in place.
With the front joist in place, using levels, I determined where the back one would be and then bolted it in place. After that I cut some 4x4 posts to length, set them in their place, and put the tank back in the hole.
Ta-da! Here is how it looks from the deck.
That put an end to that weekend's work and I would call it a success.


No comments:
Post a Comment