I struggled for a title to this blog entry as this entry notes tasks done over a period of time and is a bunch of different topics instead of an entry for a specific task. So, I have decided that from here on, for the most part, the blog titles will simply describe the first task and other tasks could also be included. With that, we start with digging a trench...
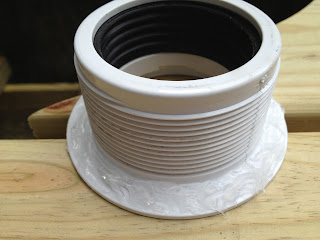
This trench will contain the pond's bottom drain (BD), the skimmer's drain line, and an electrical wire. In order to know where the trench should be I needed to first know where the connection to the SC tank would be. Time to drill some holes. I began by drilling the hole for the SC's drain and for that I used a standard shower drain.
I cleaned up the edges of the hole with sandpaper and used silicone caulk when installing the drain.
I then drilled 3 holes on the side for the pond's bottom drain connection, the supply to the pump, and an overflow drain.
When the tank was in its place I marked the approximate destination for the pond's BD line with a stake and did some pipe placement guessing.
Close enough. Get the digging tools.
At the pond the BD line is about 2' deep.
The day prior to this one it had rained quite a bit and the inside of the pond had collected some water. When I broke through to the other side the trench flooded.
That is all I can do with that for the time being. I needed a break from hard work so I shifted gears and attached some boards to the back side of the SC.
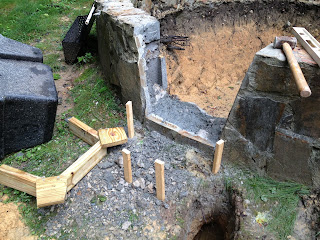
Doing some easy work allowed me to prepare for some hard work - cutting the pond's wall for the skimmer. Here are a couple of pictures before I started.
I held the skimmer to the outside of the wall and marked some lines. With the stone blade on the circular saw I made some cuts and started busting the unwanted stuff out of the way.
It was a battle but I won (WOO HOO!!!). I placed the skimmer in its new home and realized that I needed to support the back-bottom of it more so I build a form and poured a bed of concrete.
This pouring is more of a rough draft as I will come back later and add more when the skimmer gets set in place.
And, with that, I called it a day.


No comments:
Post a Comment